# Manual Device Activation
Manual device creation can be used with any device supported by Blynk no matter which type of connection they use.
Such workflow is mostly used during prototyping or for devices that don't require end-user activation.
Follow the steps 1-4 below:
Step 1: Perparing your sketch
1. Install the latest version of Blynk Library to the IDE you use
2. After that, you should see Blynk folder under the **File > Examples**
3. Select the example for the hardware you use. We will use the one for ESP32
```cpp
#define BLYNK_PRINT Serial
#define BLYNK_TEMPLATE_ID "TMPL••••••••"
#define BLYNK_TEMPLATE_NAME "Test"
#define BLYNK_AUTH_TOKEN "••••••••••••••••••••••••"
#include
void setup()
{
Serial.begin(115200);
Blynk.begin(BLYNK_AUTH_TOKEN, "wifi-ssid", "wifi-pass");
}
void loop()
{
Blynk.run();
}
```
Pay attention to these 4 lines: you would need to fill them.
```cpp
#define BLYNK_TEMPLATE_ID "TMPL••••••••"
#define BLYNK_TEMPLATE_NAME "Test"
#define BLYNK_AUTH_TOKEN "••••••••••••••••••••••••"
...
Blynk.begin(BLYNK_AUTH_TOKEN, "wifi-ssid", "wifi-pass");
```
Step 2: Getting Template ID
#### Template ID and Device Name
1. Log in to your [Blynk.Console](https://blynk.cloud/) developer account, go to Developer Zone
2. [Create New Template](https://docs.blynk.io/en/~/revisions/ynmC8lZ6FPocTYWigjcO/template-quick-setup#create-a-template) or open an existing one
3. Copy the contents of this section and paste them to your sketch

Step 3: Getting Auth Token
#### Getting Auth Token
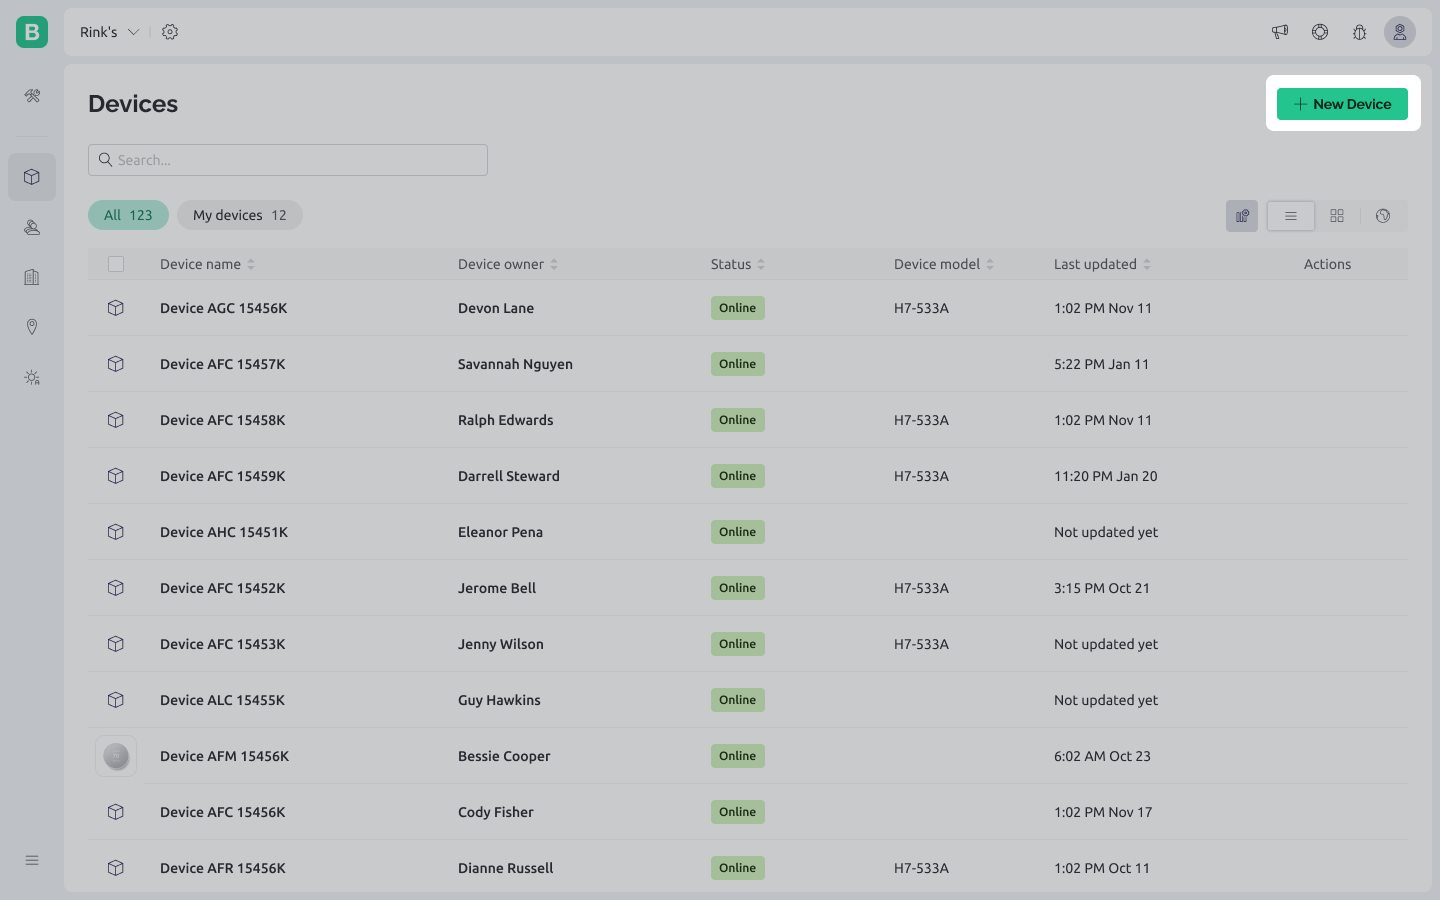
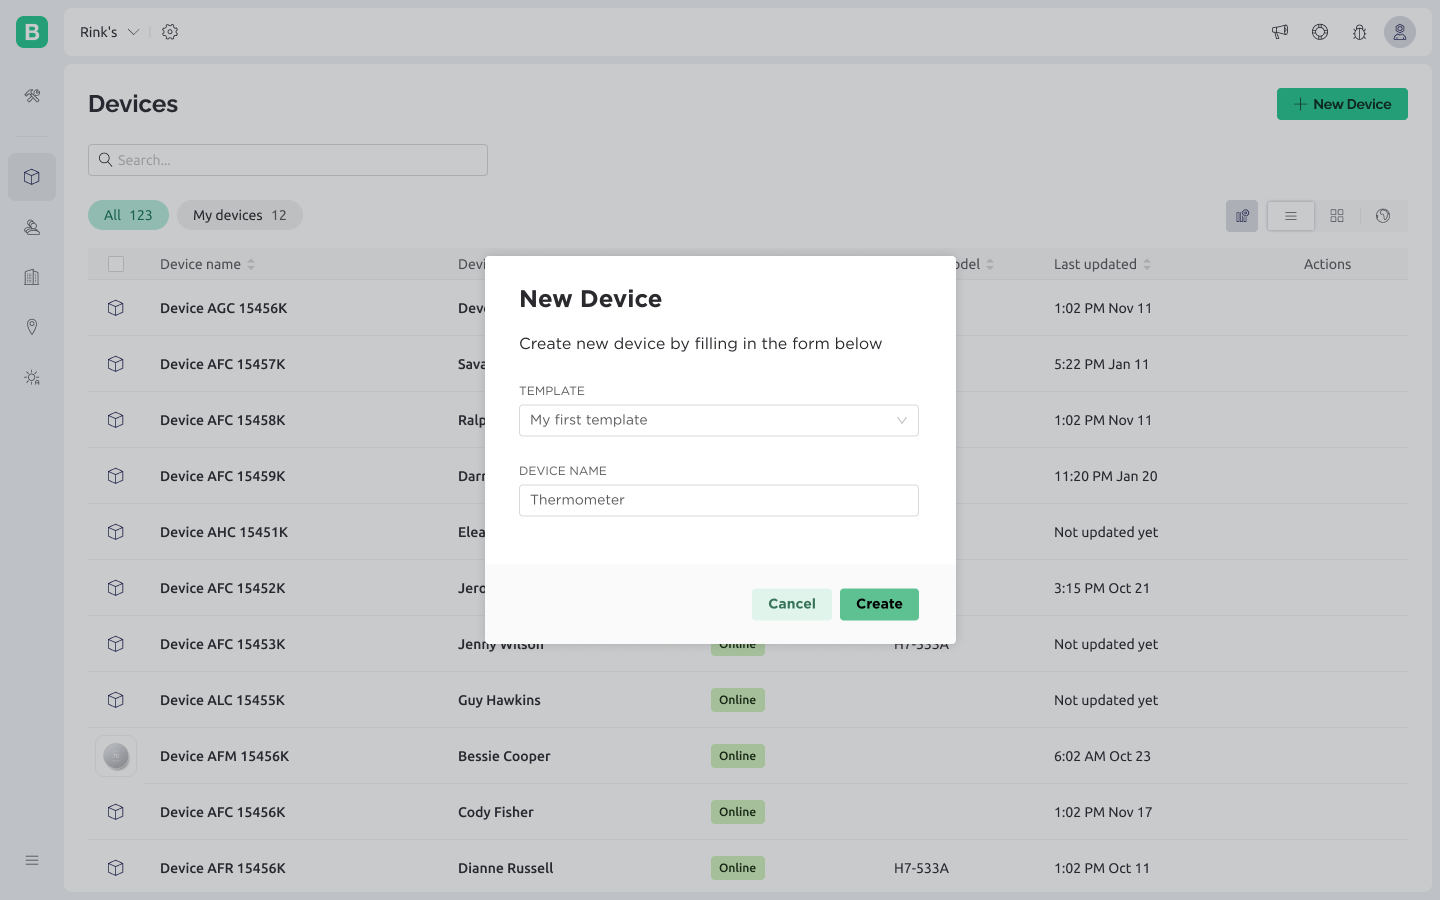
When the Template is ready, go to Devices -> **Create New Device**
 Choose a Template and give your new device a name
 After the device was created, you will get the notification with TemplateID and AuthToken. Also, this info is always available in Devices -> Device -> Device Info
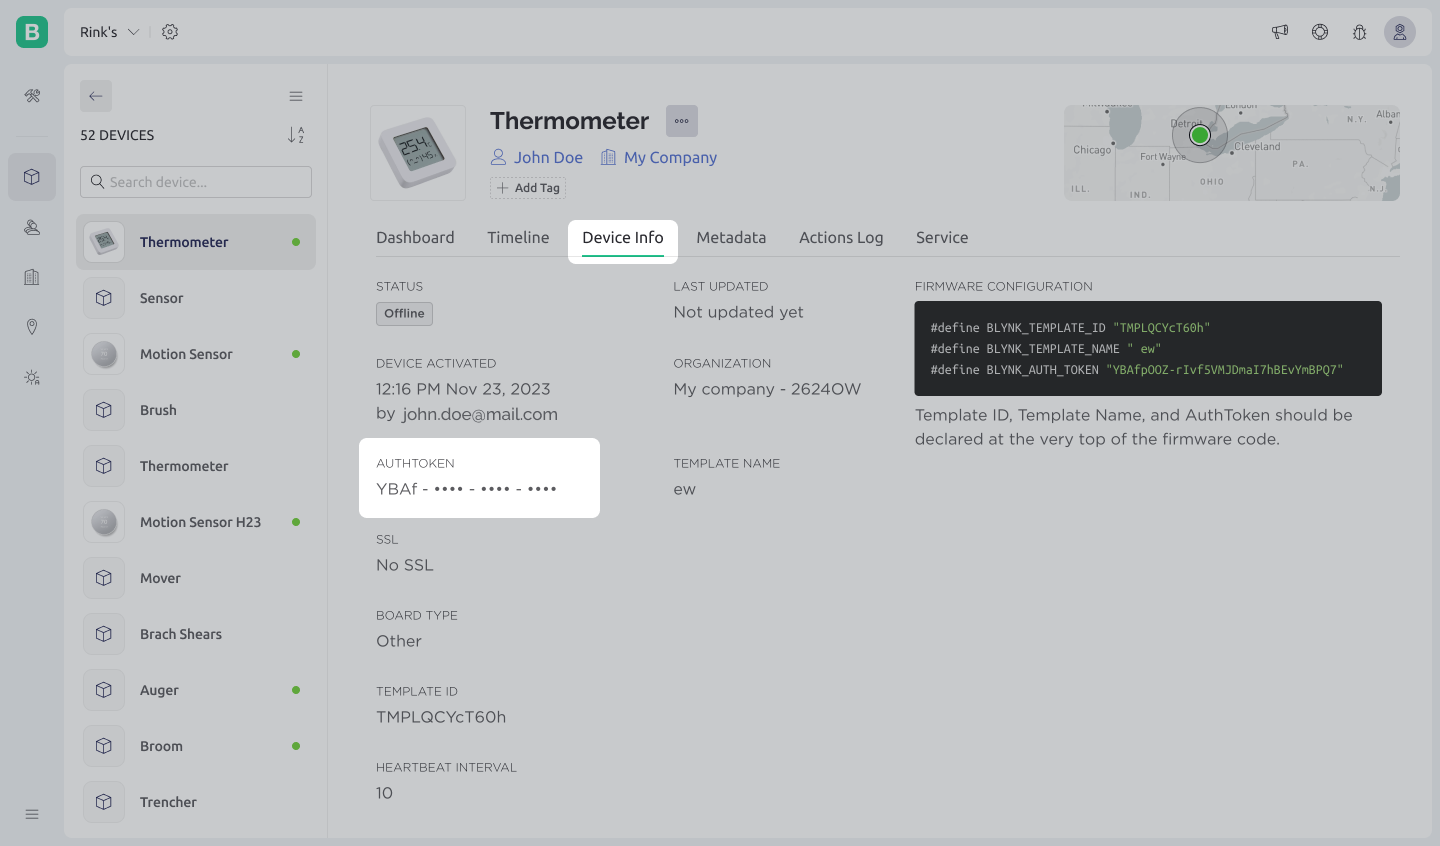 Now you have all the information you need to update your sketch:
Step 4: Updating sketch with Template ID and AuthToken
Add `TEMPLATE_ID` and `AuthToken` to your sketch:
#define BLYNK_PRINT Serial
#define BLYNK_TEMPLATE_ID      "TMPL••••••••"
#define BLYNK_TEMPLATE_NAME    "My First Device"
#define BLYNK_AUTH_TOKEN       "••••••••••••••••••••••••"

#include <BlynkSimpleEsp32.h>

void setup()
{
  Serial.begin(115200);
  Blynk.begin(BLYNK_AUTH_TOKEN, "your-wifi-ssid", "your-wifi-pass");
}

void loop()
{
  Blynk.run();
}
Upload the sketch to your device and open Serial Monitor. Wait until you see something like this:
```bash
Blynk v.X.X.X
Your IP is 192.168.0.11
Connecting to...
Ready (ping: 40ms)
```
#### Congrats! Your device should be now online!