

Overview
Blynk.Apps main functionality
Blynk offers native iOS and Android mobile apps which allow to remotely control connected devices and visualize data from them.
App operates in two modes:
Developer Mode
The primary function of Developer Mode in the mobile app is to build and edit the Mobile Dashboard User interface (GUI) for the given Device Template.
Mobile Dashboard is built from Widgets - modular UI elements which can be positioned on the canvas. Every Widget serves a special function (a button, a slider, a chart, etc). Every Widget has it's own settings based on its functionality.
End-user mode
This mode is used by both the makers and the end-users.
It's focused on devices, automations and notifications view and management with the help of widgets and additional screens containing specific information about data that is set/sent/received to/from Blynk.Cloud and devices.
Home screen
Home screen consists of up to 3 tabs depending on the configuration: Devices, Automation and Notifications
Devices
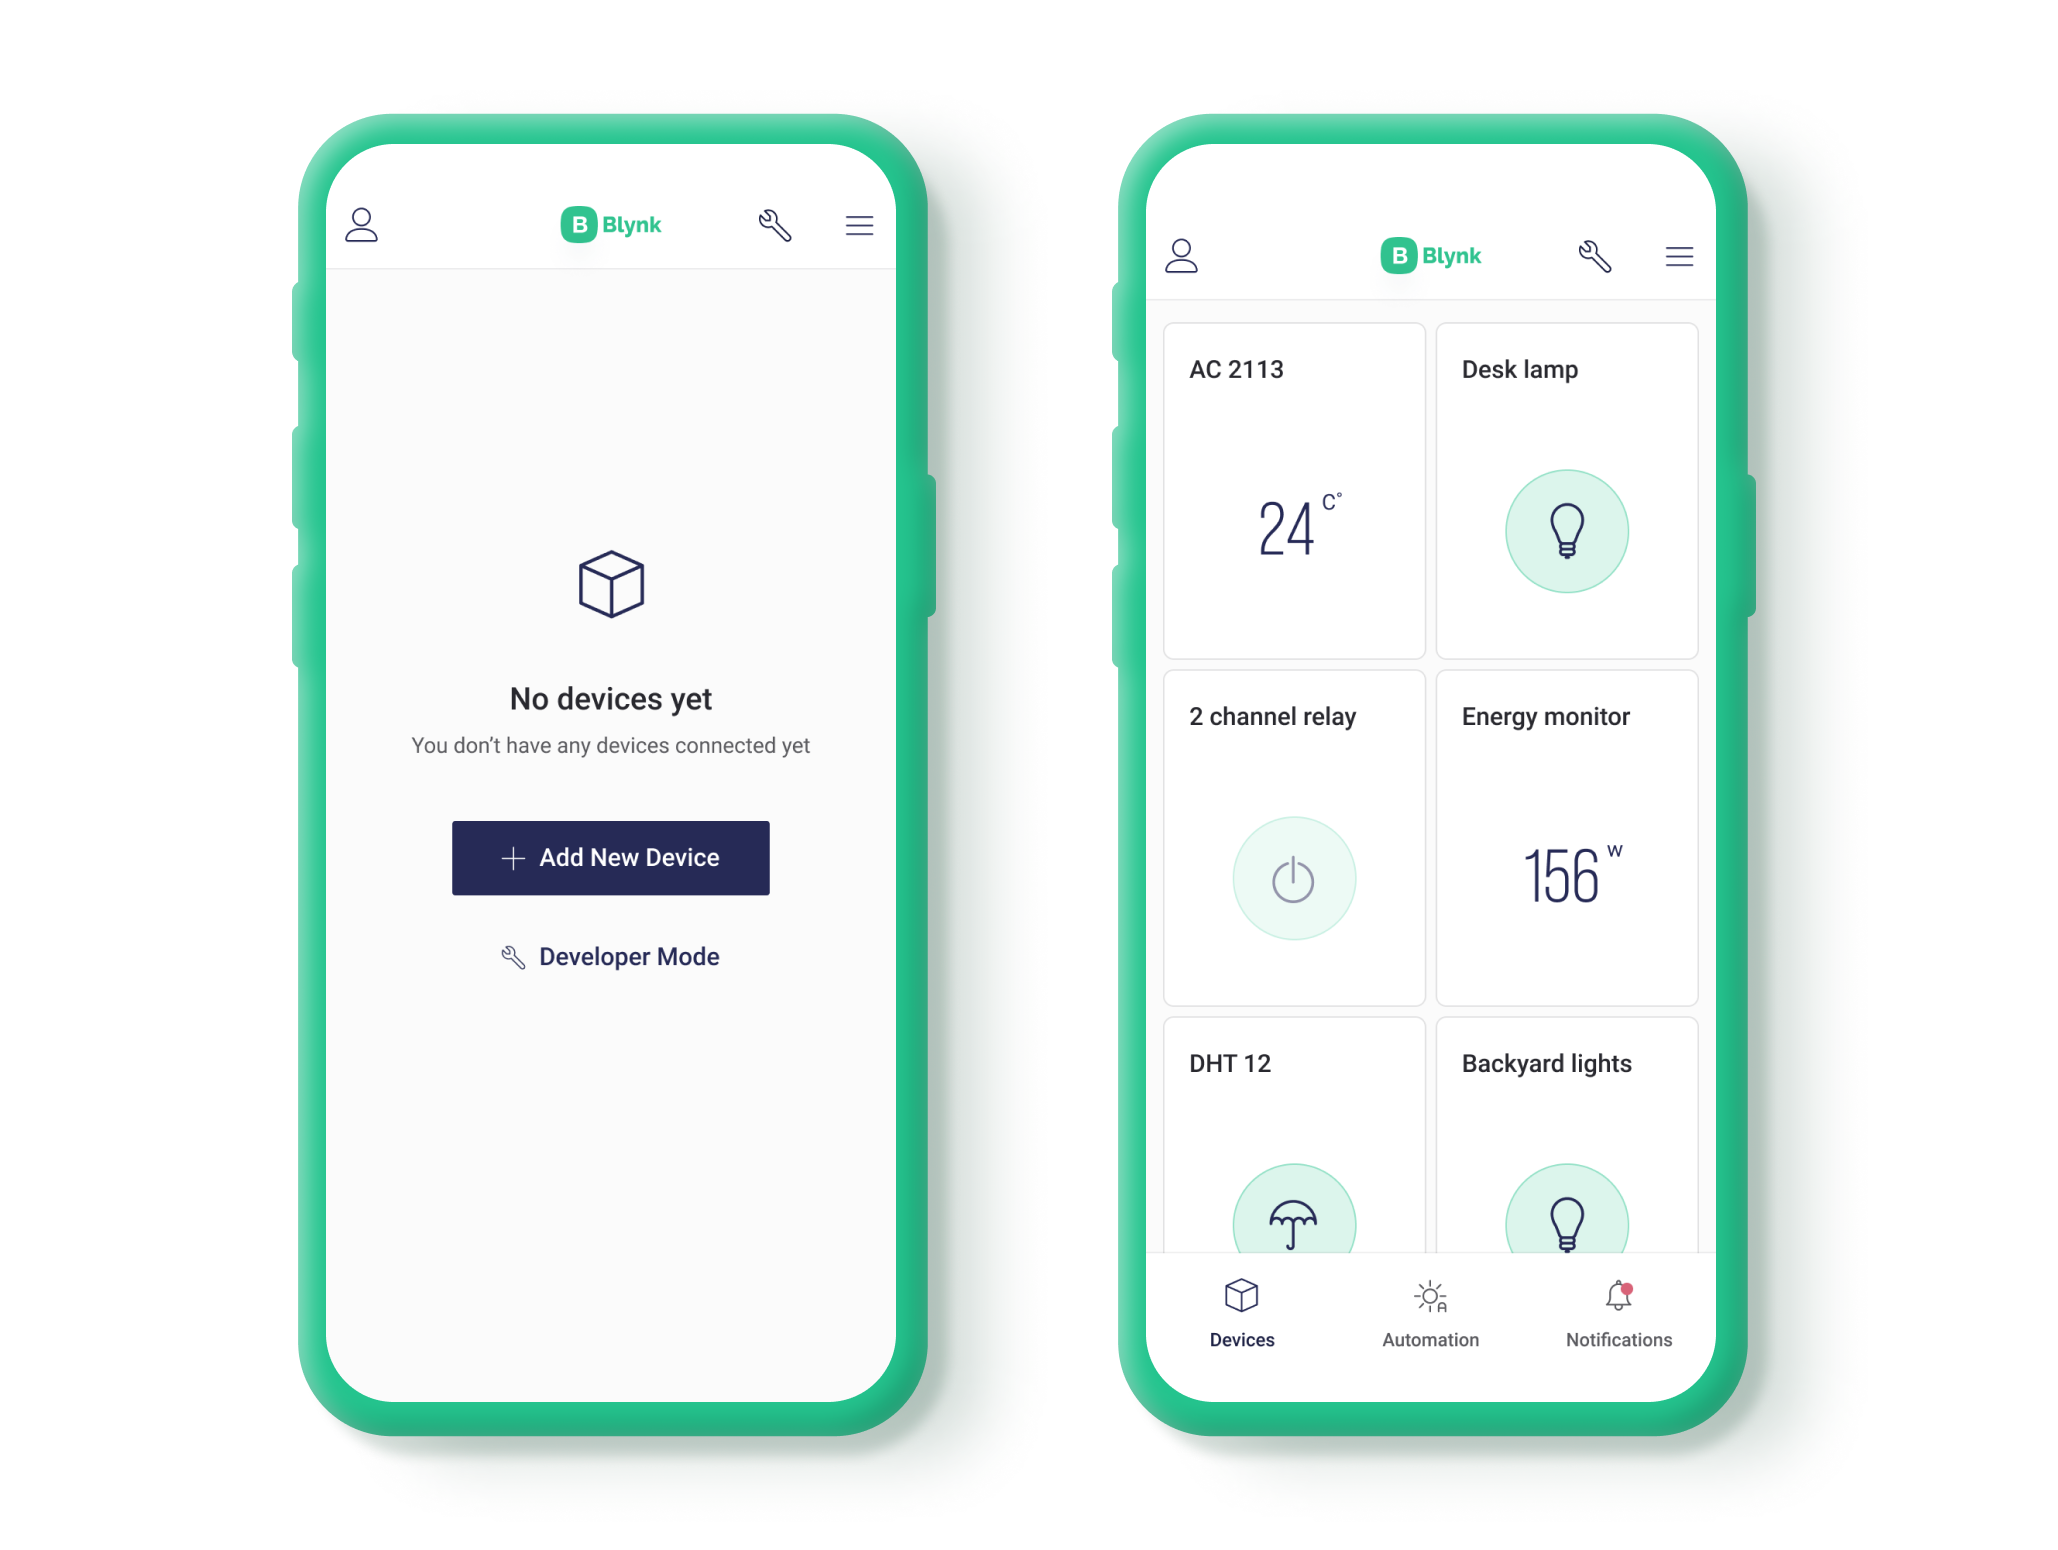
This section is open by default when you open the app. All created devices will be listed here and their tiles will look according to their template type. To add new device go to the Right menu by tapping the top right button in the navigation bar. There are also options to change how devices are sorted.
If there are no devices yet, there is a button "Add new device" in the middle wich takes you right to the device provisioning routine.
Automation
This section is visible only when a template has at least one datastream enabled for automation. To enable the datastream for automation, please read the Datastreams article.
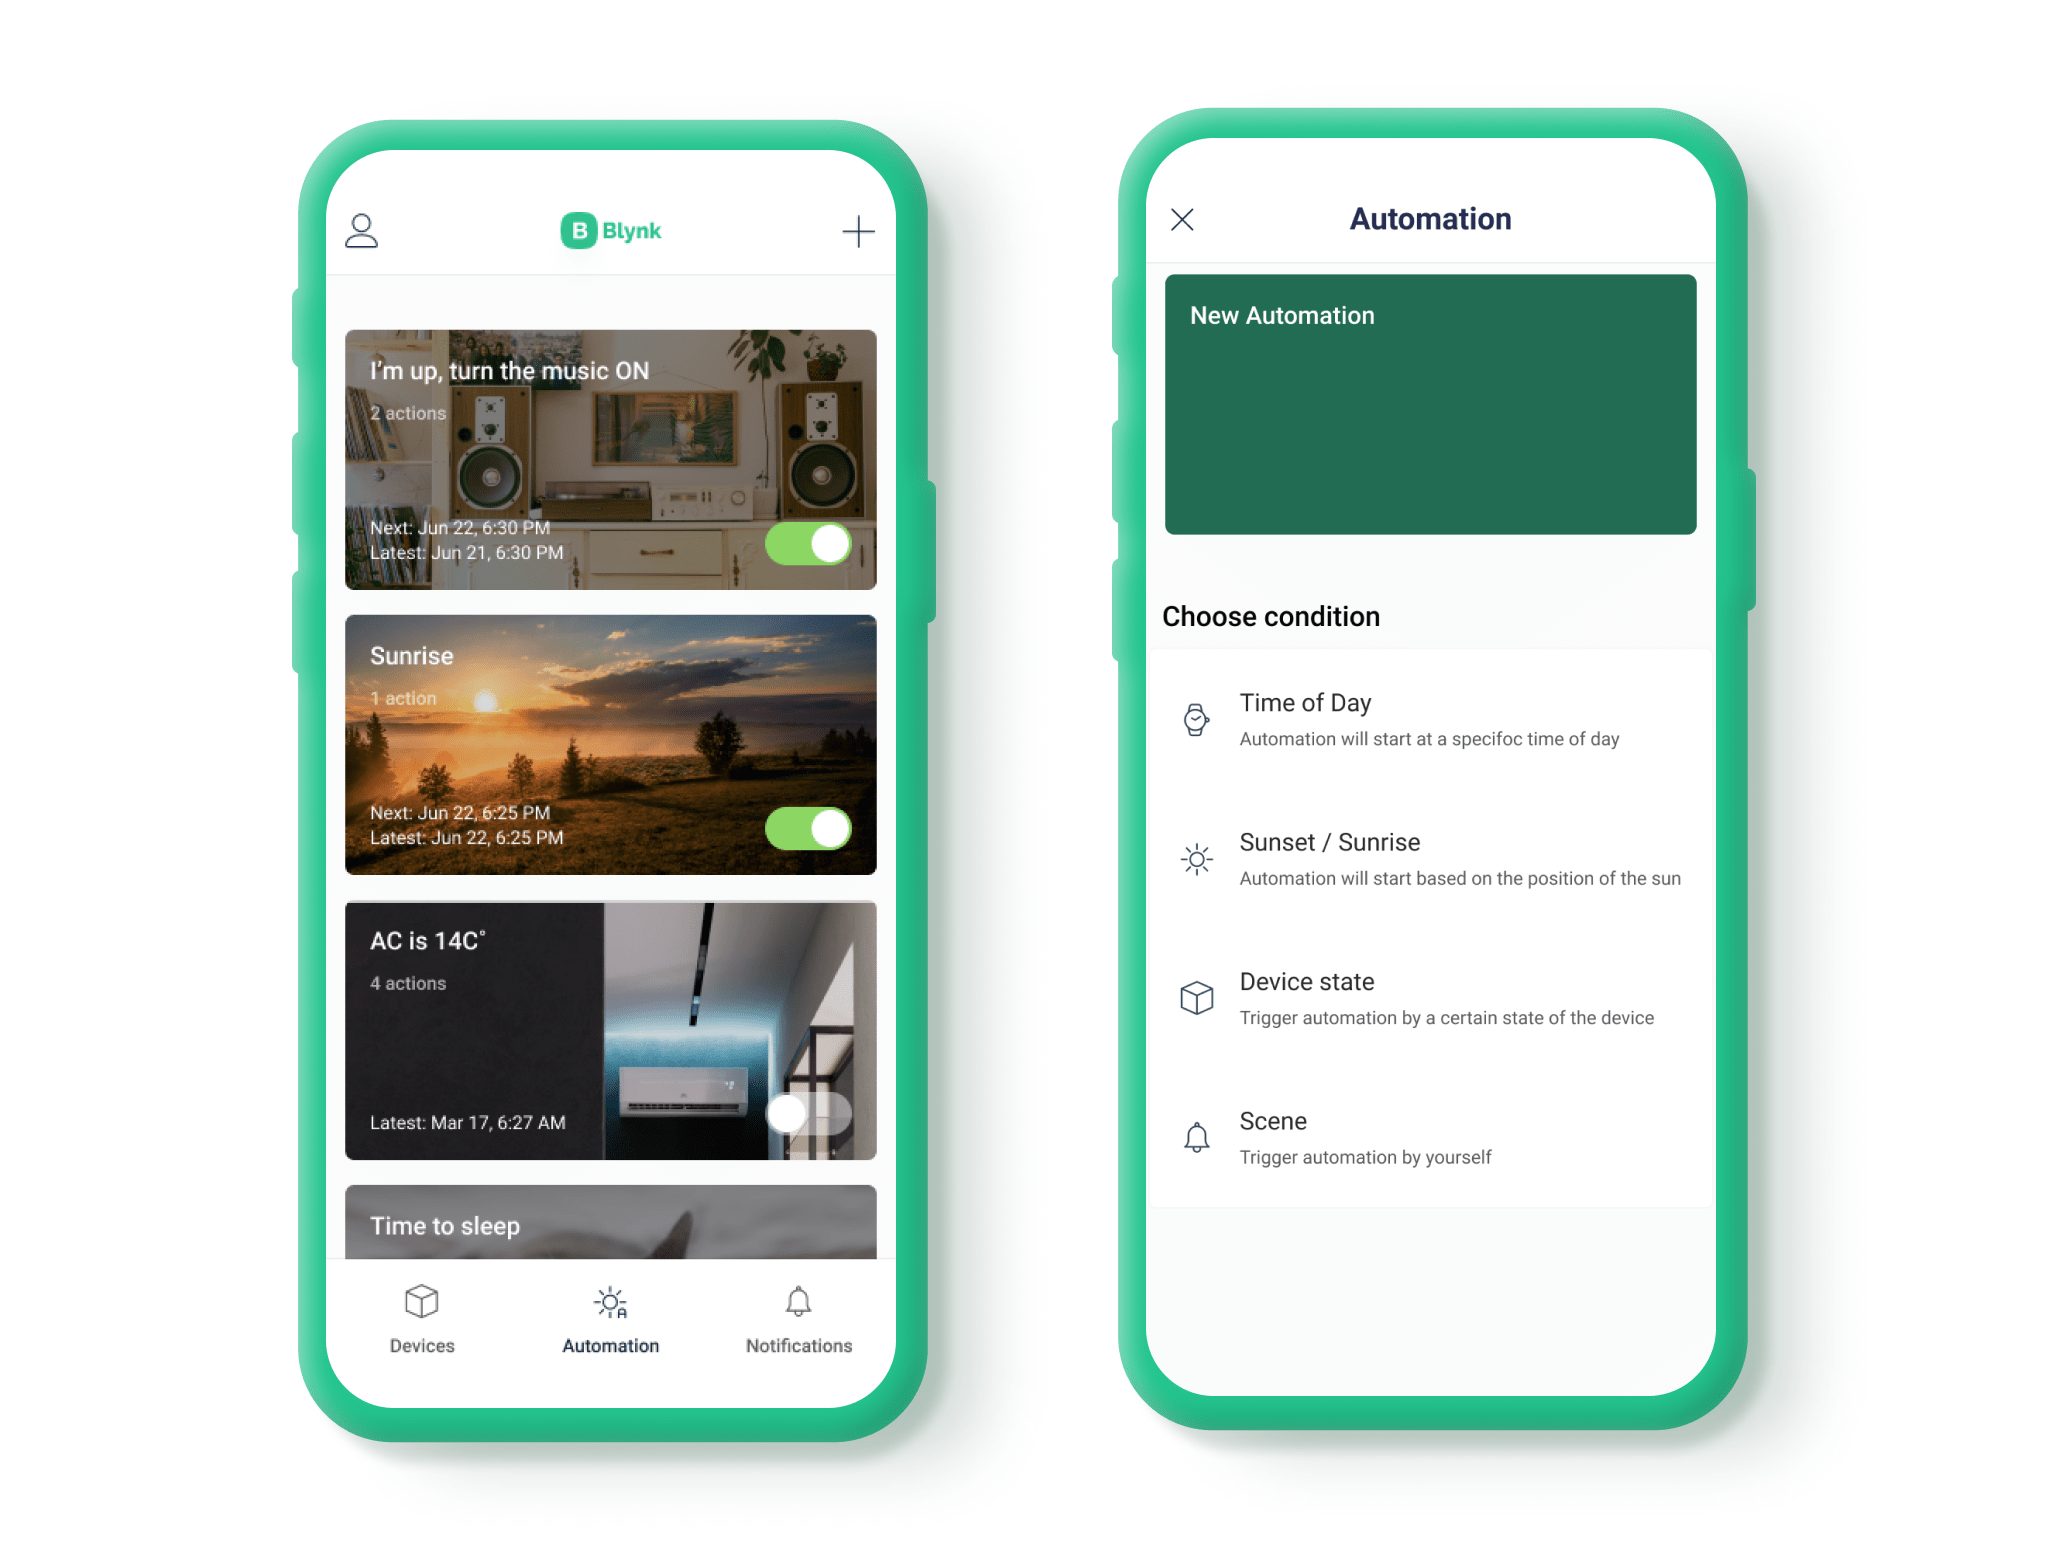
You can automate your connected devices with the following triggers:
Time of the day
Sunset and sunrise
Device trigger
Manual execution (Scenes)
Notifications
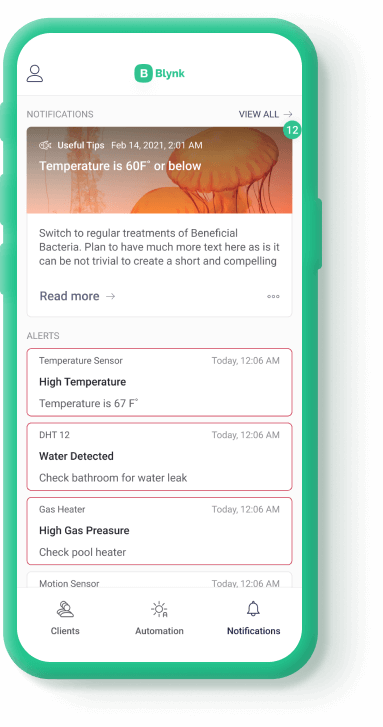
The list of notifications from all devices will be here.
Device dashboard
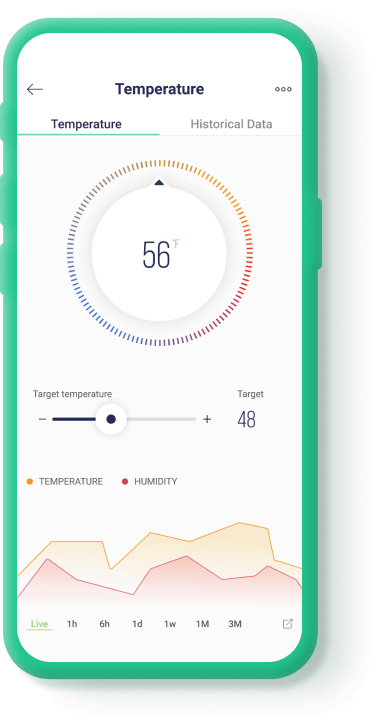
When a user taps on the device tile, the device dashboard will be opened. It consists of widgets that allow controlling and monitoring the device. The layout of the widgets and their settings can be edited in the Developer mode
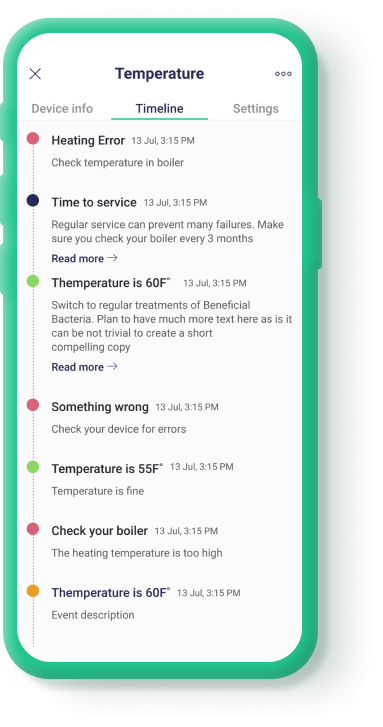
Device Info and Timeline
At the top right corner of the dashboard, there's an ... icon that opens another view with the Device Information and Timeline.
On the Device Info tab, you can edit a device name, change other metadata values, view other things like firmware version, etc.

On the Timeline tab, you'll find the list of all events of the device (for example online, offline and custom Events)
Device Actions menu
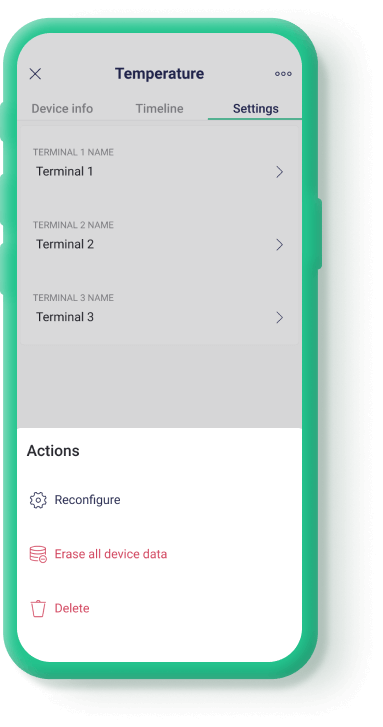
At the top right corner of the Device Info and Timeline tabs, there's Configure (gear) _**_icon that opens an actions menu with the following options:
Reconfigure
Erase all device data
Delete device
Main menu
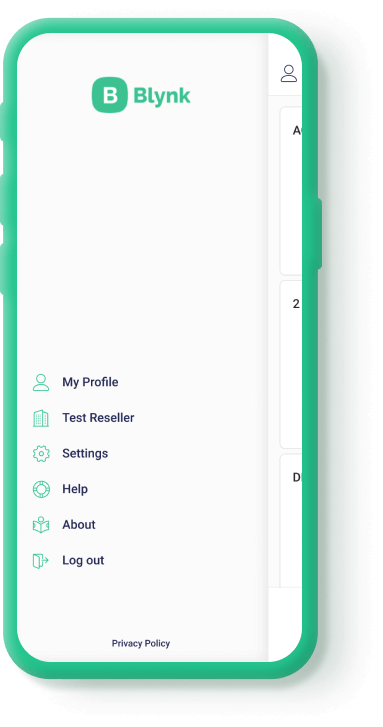
At the top left corner, there's a Profile icon that will open the main menu when you tap on it. This menu consists of the following entries:
My profile – here you can change your name, password, or delete your account.
Organization settings – _**_here you can change the organization name, description, and timezone.
Members – here you can invite new users to an organization by sending them an Email
Switch organization – if you have other organizations created, you can switch to and from them using this switch.
Right menu
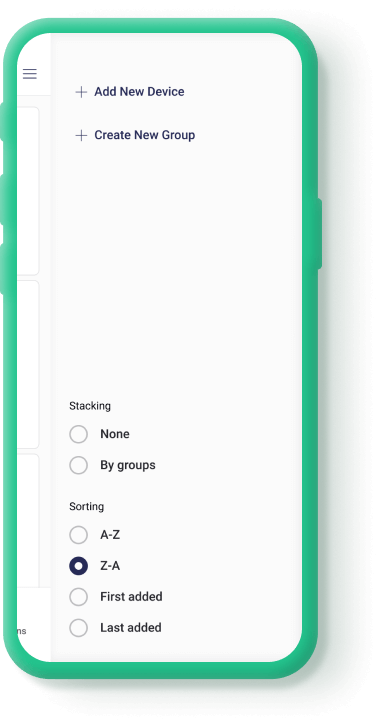
At the top right corner, there's a hamburger icon that will open the right sidebar menu when you tap on it. Depending on the active tab on the Main screen it offers to add new Device, create new Automation, new Group, etc.
This menu also offers the various sorting and stacking options for the devices and device groups list.
Last updated
Was this helpful?