Metadata Tutorial

Metadata is a table of key:value data attached to every device. Keys are static, and values are related for each device.

For example, a Serial Number Metadata field can be attached to every device, but the actual value is different.

1. Create a Template or use an existing one

2. Create Metadata
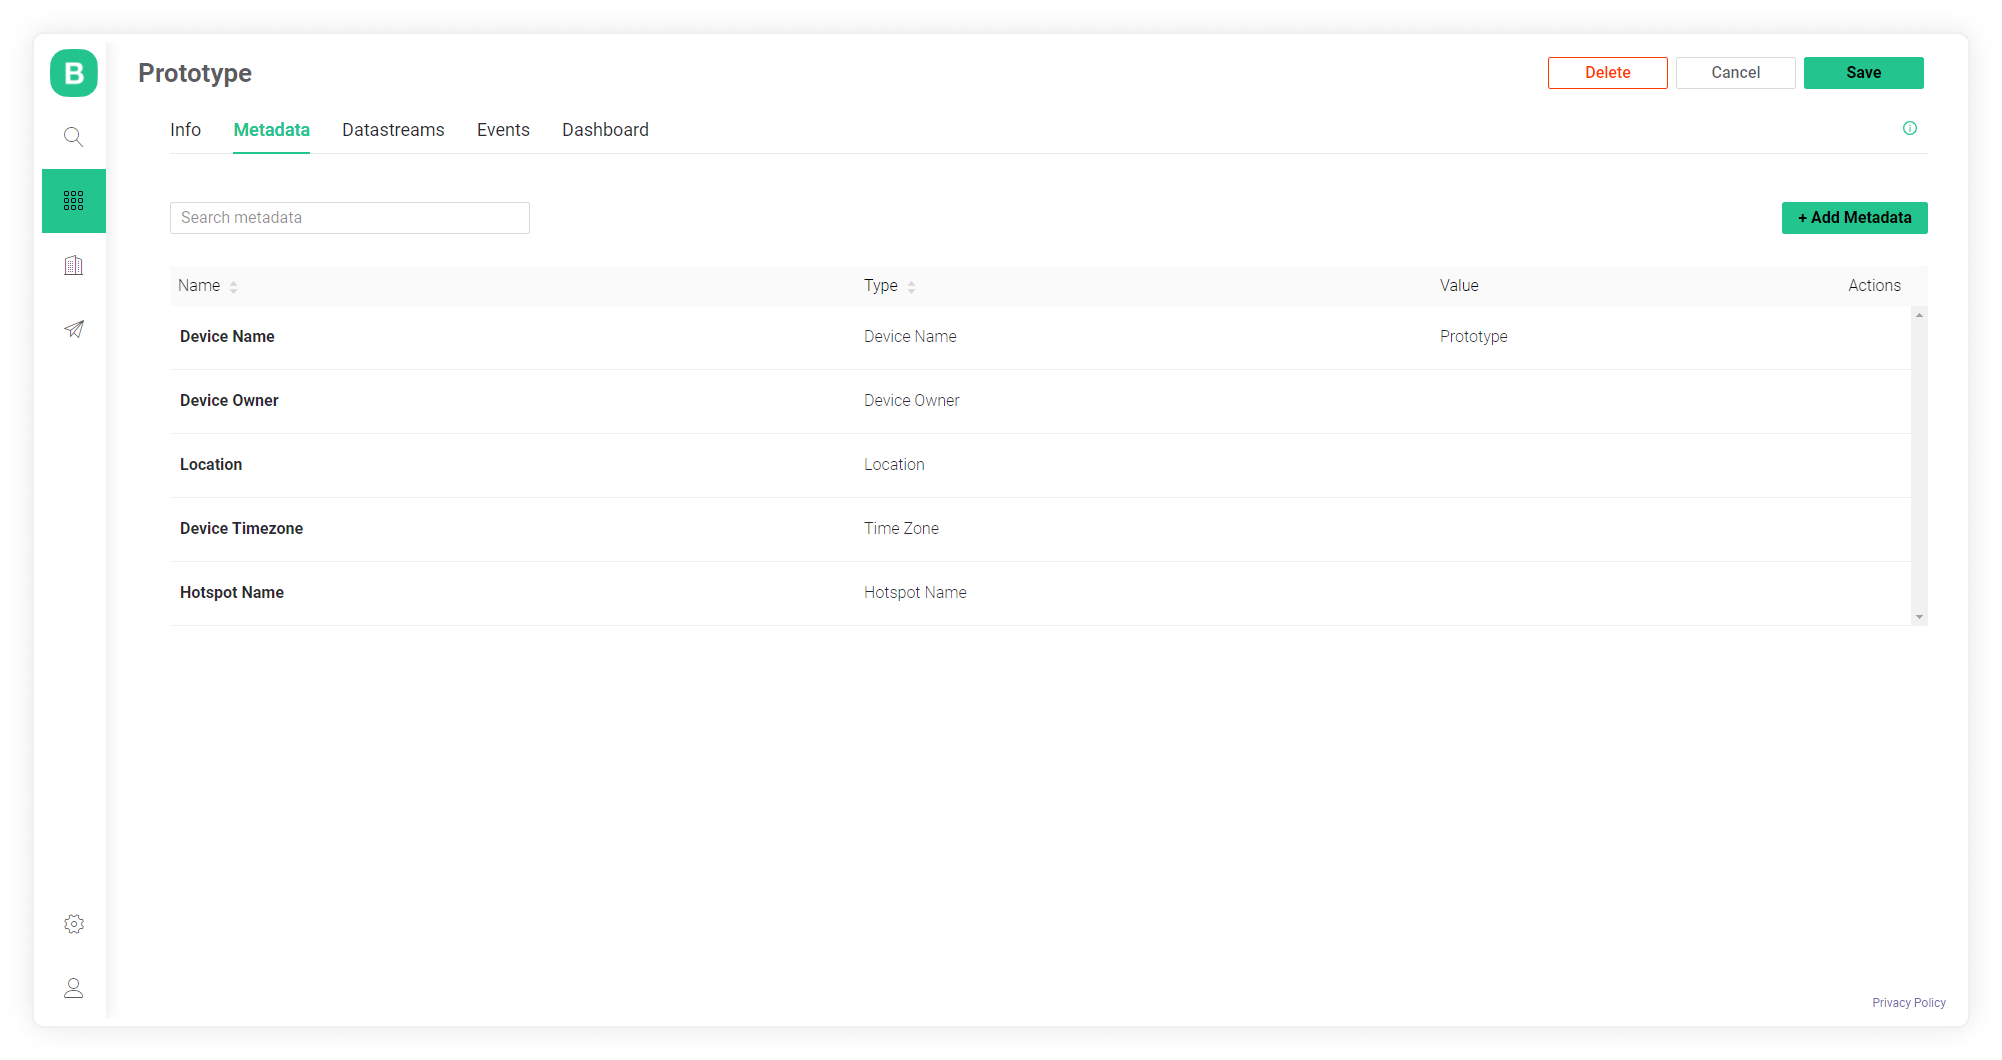
  1. Open Template

  2. Click Edit at the top right

  3. Switch to Metadata tab

  1. Click Add Metadata.

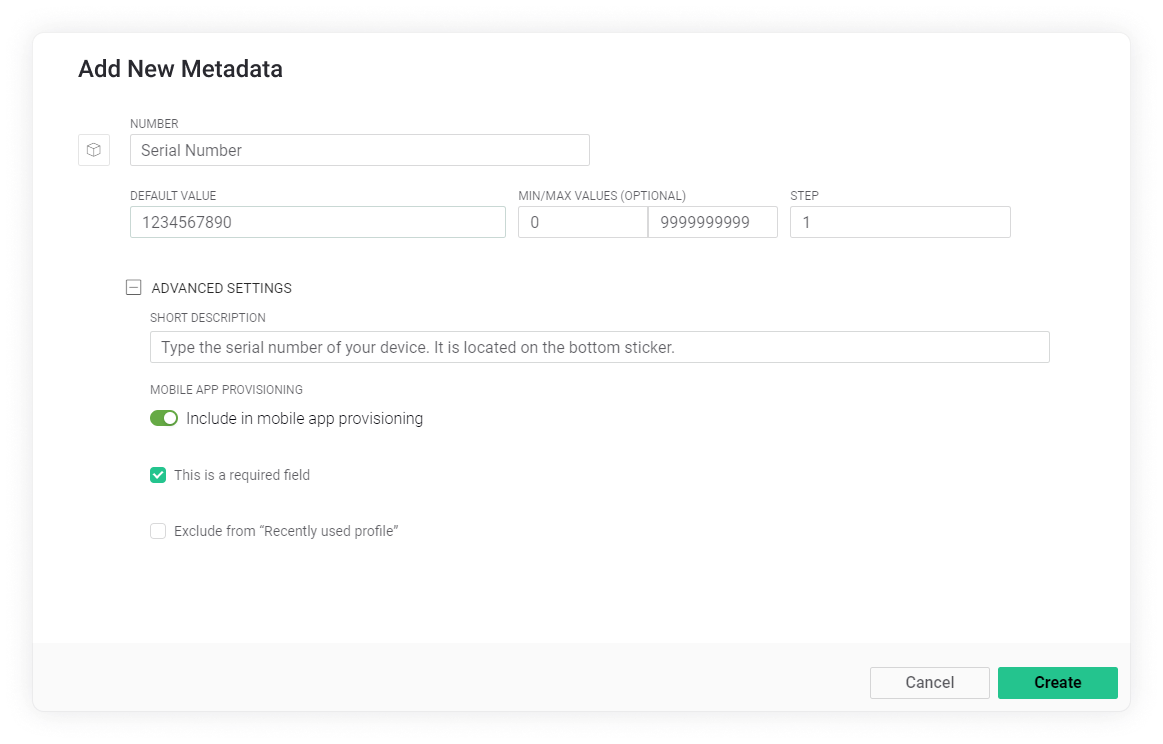
Choose the most relevant type for every metadata input. For example, if you would need to associate Serial Number with every product, add the “Number” metadata field.

  1. Set it up and click Create button once you've finished with this characteristic

  1. Repeat steps 4 and 5 untill you create Metadata list you need

  2. Click Save Template at the top right

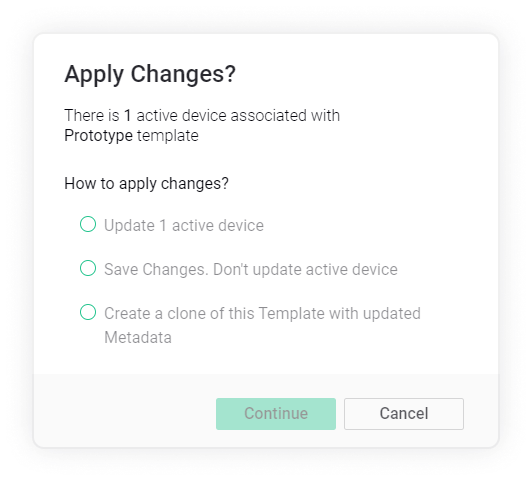
  3. Choose Apply Changes option (let's select Save Changes. Don't update active device this time) and click Continue

You can edit Product's Metadata settings any time you need it by following the steps above.

3. Add Device and provide it's Metadata
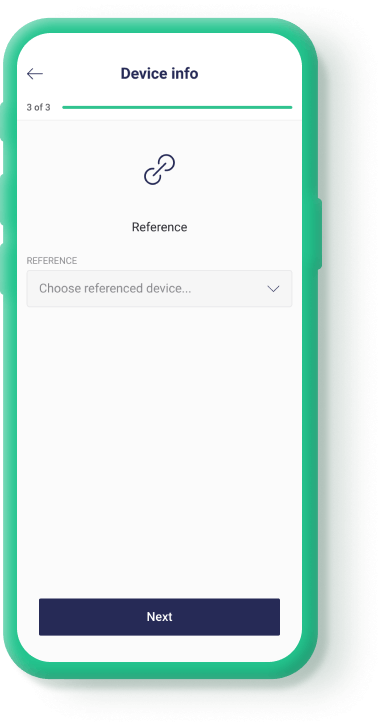
During the provision there will be prompts to input Device Metadata:

  1. Change default value to actual one by tapping step buttons or direct input to the field.

  2. Follow provision flow till it's end.

4. View Metadata

View metadata in Blynk.Apps
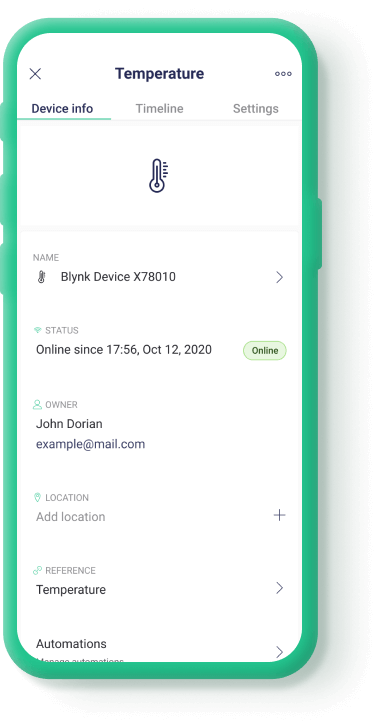
  1. Tap Device tile

  2. Tap top right Menu button

  3. Scroll through Information tab untill you see Metadata you need

View metadata in Blynk.Console

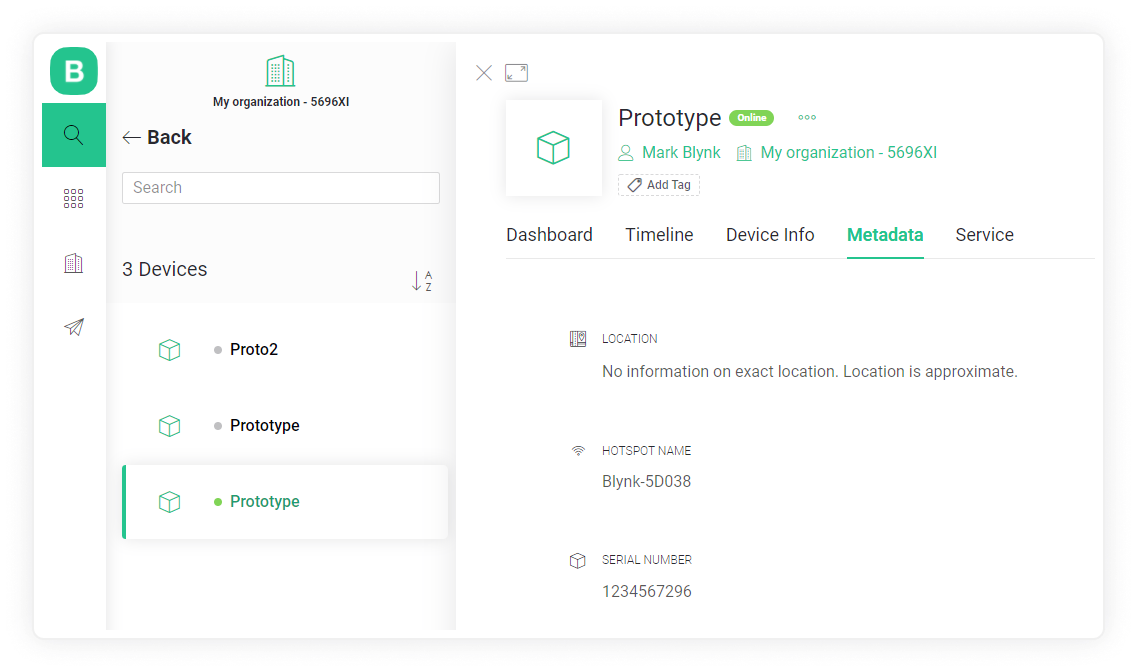
  1. Find your Device

  2. Click on it's name or row in the table

  3. Switch to Metadata tab

5. Edit Device Metadata

Edit device metadata in Blynk.Apps

  1. Tap Device tile

  2. Tap top right Menu button

  3. Scroll through Information tab untill you see Metadata you need

  4. Tap Metadata value field

  5. Change the value

  6. Return to the previous screen

Edit device metadata in Blynk.Console

  1. Find your Device

  2. Click on it's name or row in the table

  3. Switch to Metadata tab

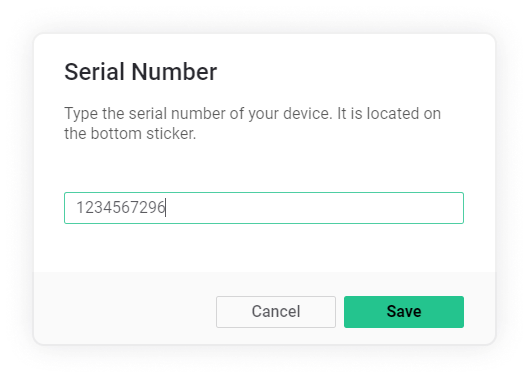
  4. Hover Metadata value you want to change

  5. Click Edit

  6. Change the value

  7. Click Save

Last updated